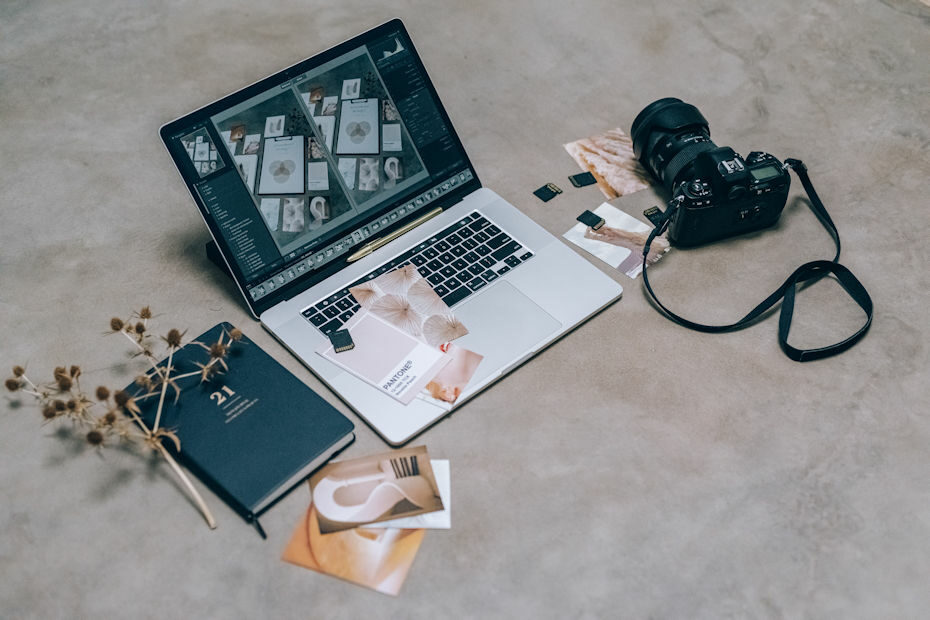
Product photography is the boring workhorse of the photo world. People need these photos for one purpose: to show the product to a potential customer in whatever detail the customer needs so they’ll buy the item. If your small business sells a product, you’ll need product photography. But hiring a pro photographer can be expensive. Fortunately, it’s not so hard to learn how to take product photos like an almost pro.
In this article, we’ll take you through the bigger steps on how to take product photos. We’ll start with setting up the photo studio and end with the final editing. We’ll also link to more detailed articles on how to perform each step in each section. This way, you’ll first understand the forest before seeing each tree.
So, here are the steps on how to take DIY product photos.
Step 1: Prep Your Subject
Let’s say you collect and sell fountain pens. You just acquired a very pretty one, and you want to show it on your webstore for resell.
Your first step is, of course, cleaning the pen. Make sure you wipe off all the fingerprints and dust particles.
You’ll be taking closeup shots of your product, so you won’t want any flaws to show up in the photo.
Step 2: Set up Your DIY Photo Studio
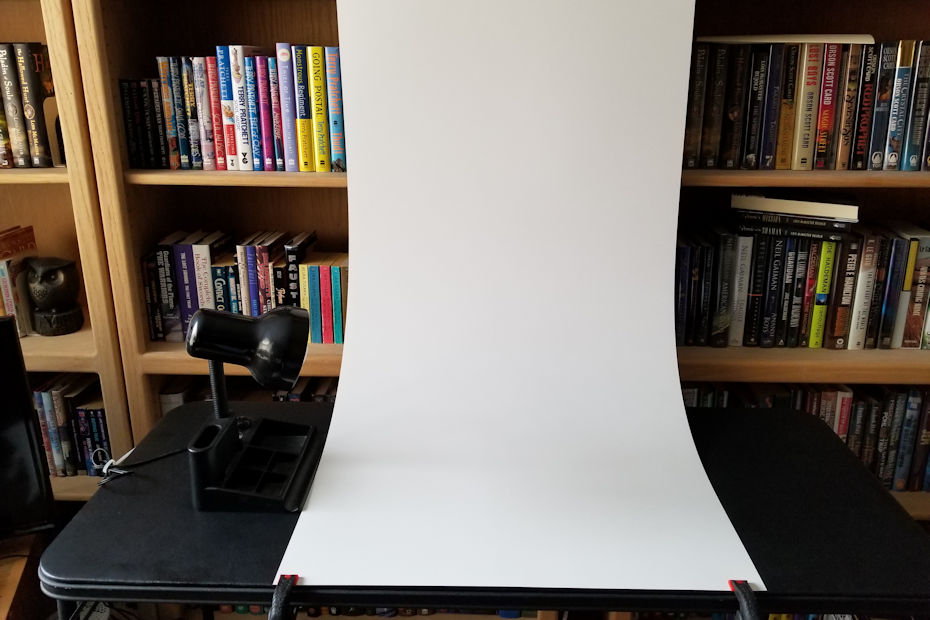
Next, set up your simple photo studio. If you don’t have one yet, here’s how you can make a DIY photo studio for less than $20. Once you have the photo studio, you’ll be able to set it up or take it down in about five minutes.
To set up the studio, place a table against a wall or a large vertical piece of furniture such as a bookcase. Then, prop one end of a vinyl backdrop against the wall or furniture and clamp the other end to the edge of the table. Your DIY photo studio should now look like this.
Next, stand your diffuser in front of the light. Here’s how to make a diffuser and reflector for less than $5. You can buy commercially made diffusers and reflectors if you wish. Amazon has some inexpensive ones.
Place the diffuser as close as possible to the light. Be careful that the fabric doesn’t get too hot and cause a fire hazard.
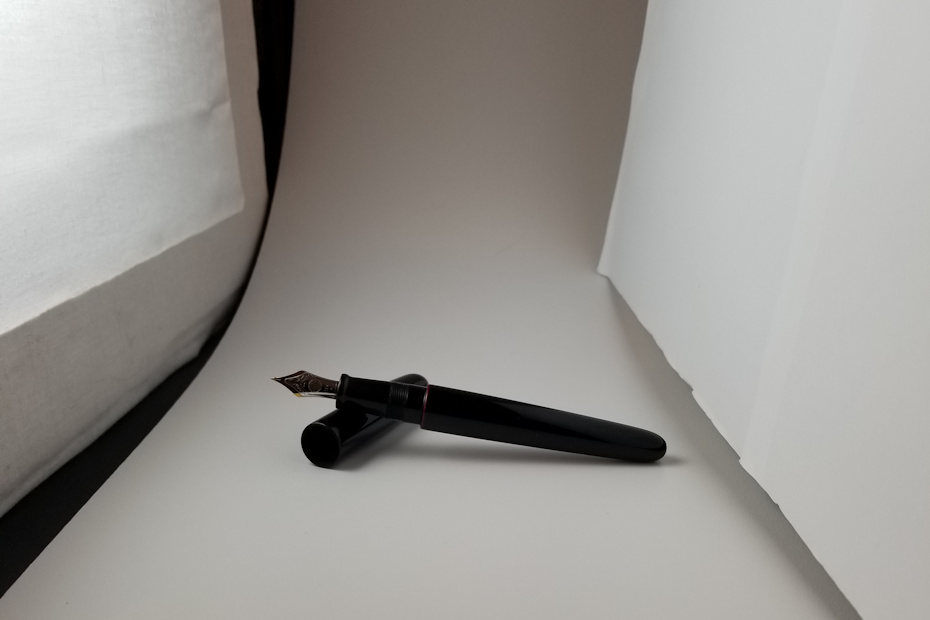
Place your reflector on the opposite side of the diffuser, and place the fountain pen between the diffuser and the reflector. You will have to prop the reflector up against something to stand it up. We used books.
Your setup should now look something like this.
Step 3: Compose the Shot and Take the Photo
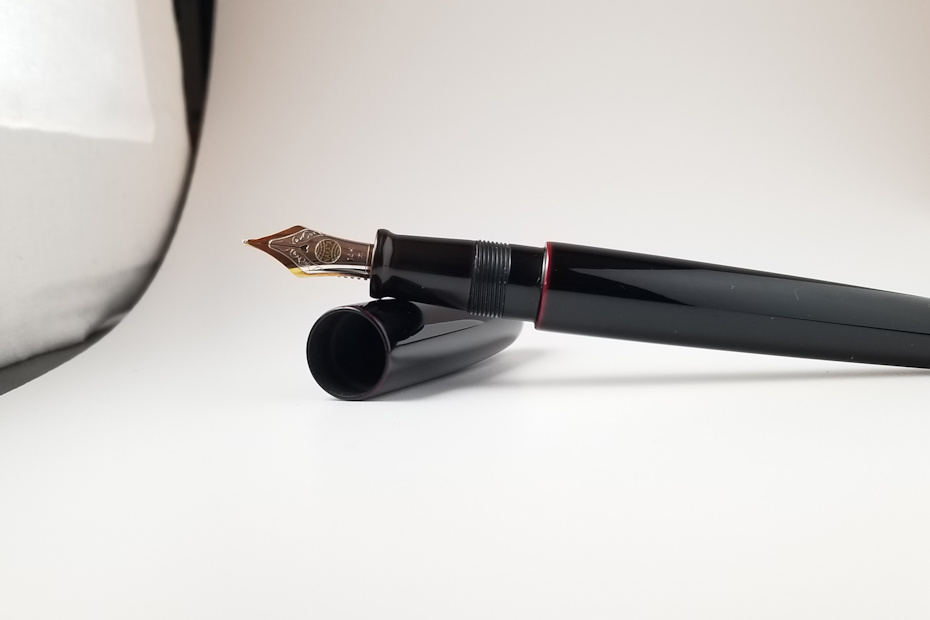
Now, pose the fountain pen a little following our easy photo composition tips.
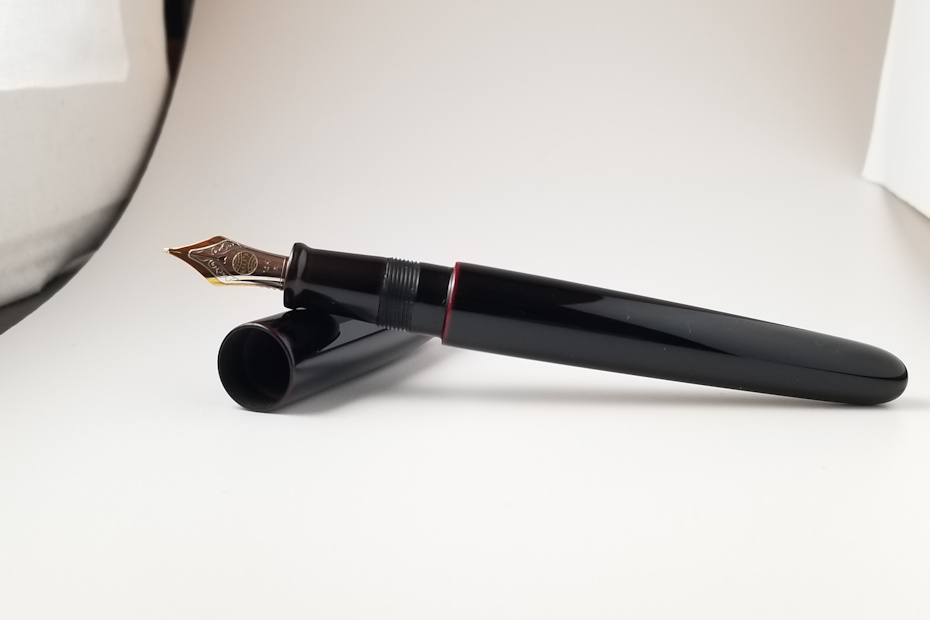
For this shot, we placed the nib of the fountain pen a bit off-center. We also have two imaginary lines that cross near the nib to provide a focal point. The long body of the pen balances the nib.
You will very likely have to move the reflector very close to the fountain pen to get the benefit of the reflected light. If you are using a two- or three-light setup, you won’t have to deal with the reflected light issue much.
Now take your camera and get fairly close to the fountain pen. We recommend you use a smartphone camera, but you can use a more complicated one if you wish.
Adjust the exposure of the shot (let the camera automatically deal with ISO, aperture, and shutter speed), and take the photo. Take several shots, each framed differently at a slightly different angle. Take some shots at eye level and others from top down or bottom up.
Step 4: Edit the Photo
Import the photos to your computer and open up the file with the photo editor of your choice. Here’s our article on some free and paid photo editors you can use.
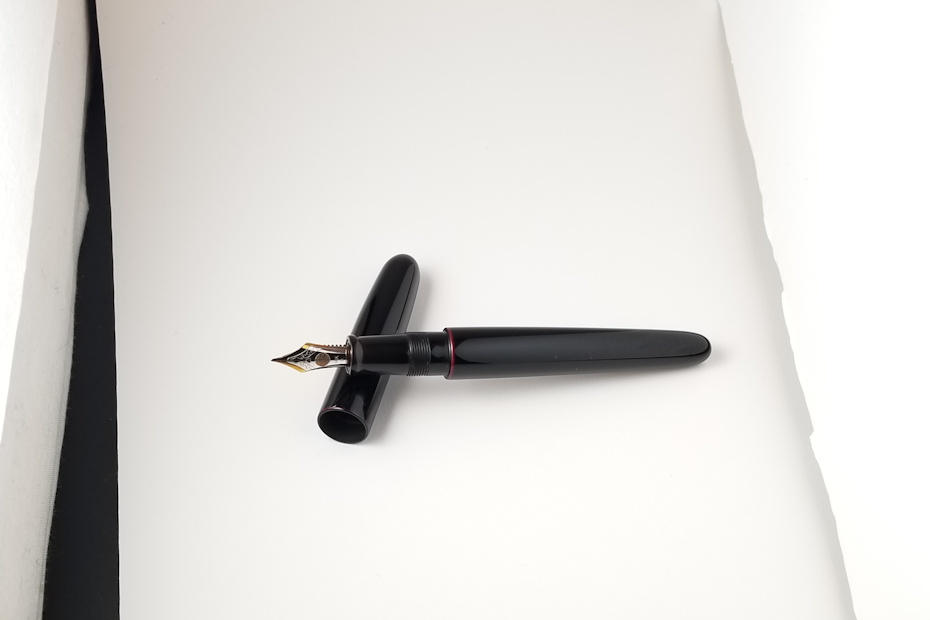
Look at all the photos and see which one you like best. Zoom in to look at the details. Crop if necessary and play with the light and color settings. The photo below is the one we liked best, before and after minor editing with the Windows Photo Editor software.

Step 5: Save the File and You’re Done
Once you are done with your adjustments, save the file. You can now use it for your webstore (but don’t forget to optimize). Or, if you prefer old-fashioned ways, use the photo for a mail flyer or as a part of a product catalog.
And that’s how to take product photos with great results.
Practice Makes Perfect, so Keep Shooting and Improving
Of course, that after photo isn’t perfect. For one, the upper left hand corner can be lightened to retain the pure white background. A pro photographer can probably spot other flaws that our untrained eyes can’t see.
But, at the end of the day, you now have a fairly decent-looking product photo customized to your needs. Even if you are a novice photographer, your end product should look fairly nice.
Keep practicing and you will get better. You might even one day find it worthwhile to invest in better lighting, a commercial diffuser/reflector, a nice camera that gives you more control (because now you understand what the dials and buttons and numbers mean), and a subscription to a photo editing software like Photoshop.
But meanwhile, use these photos to start selling. Build your business. One day, instead of a necessity, it would be your choice to either keep taking your own product photos or hire a professional to do it for you.
Questions? Comments?