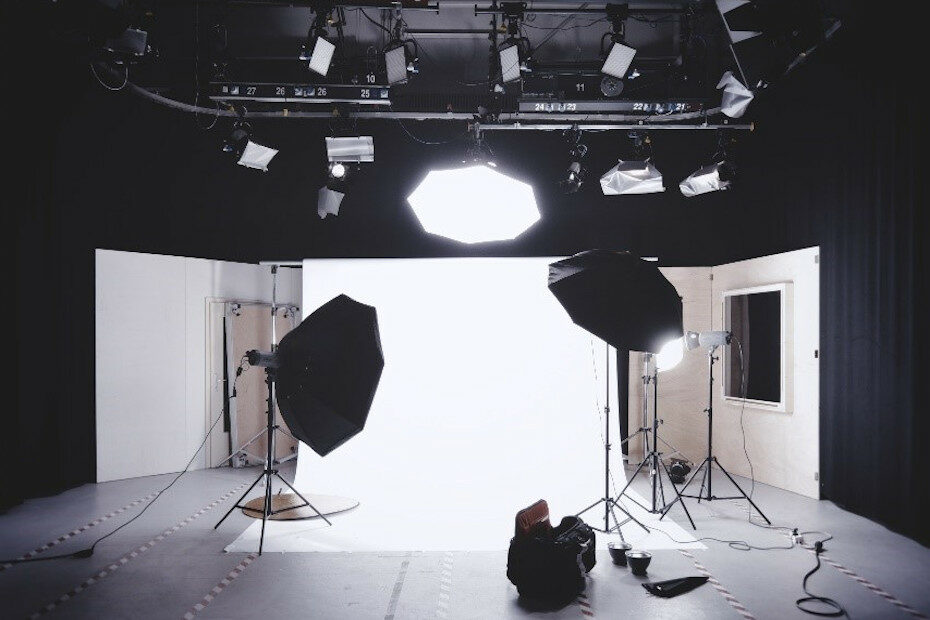
Professional photo studios with their fancy lights, floor-length background, and specialized light-reflecting equipment can get expensive. Small businesses can’t often afford anything close to that. But if you want professional-level product photos for your webstore, you’ll need a studio. Is there a way to set one up on a budget? Happily, yes. You can set up a DIY photo studio for about $20.00.
Believe it or not, you can put up a pretty decent studio just by grabbing things you already have around the house. You might have to supplement with a few items from the store, but you won’t need to buy too many things. The setup is so simple that it takes less than 5 minutes to put up or take down for storage.
Here’s how to do it.
- The Most Important Element in a Photo Studio is the Lighting
- You’ll Need at Least One Light Source for the DIY Photo Studio, but You can Use up to Three
- You’ll Need a Work Surface, but it Doesn’t Have to be Very Large
- Set up an Infinity Backdrop Against a Vertical Surface
- Where to Find Materials for the Infinity Backdrop
- Use a Diffuser and a Reflector to Soften the Lighting
- Your DIY Photo Studio: The End Product
The Most Important Element in a Photo Studio is the Lighting
Light is the most important element in photography. And one of the important decisions you’ll have to make for your photo studio is to decide whether you should use natural or artificial light.
It is not always easy to control the quality and quantity of natural light. And, of course, you must shoot during daytime.
So, for our DIY photo studio, we decided to use artificial light. Artificial light makes the shooting environment easier to control. It also allows you to shoot any time in the day or night.
You’ll Need at Least One Light Source for the DIY Photo Studio, but You can Use up to Three
To set up an artificially lit studio, you will need a lamp and a light bulb that gives off as much light as possible. We use an old desk lamp with a flexible neck and a light bulb we already have.
The bulb gives off 1,600 lumens. If you can find a brighter one, use that one. Don’t go too much under 1,600 lumens. Total cost so far: $0.00.
Our studio setup uses one light because this is easier to set up. But you can use from one to three lights. The one light setup requires a reflector (discussed below) while the two- or three-light setup does not.
If you want to experiment with the two- or three-light setup, then you will need 2 more lights. You’ll need a light to the left and right of your product and one on top shining straight down.
The main difference between the number of lights is in how the shadow is cast by the object being photographed. More lights mean less shadow. You can get the same effect with photo editing software, so the number of lights you use is a matter of preference instead of a necessity.
You’ll Need a Work Surface, but it Doesn’t Have to be Very Large
Next, you will need a surface area for your lamp, your backdrop, and the product. We use a foldable table we bought a long time ago. But, really, the only requirement for the work area is that it has to be large enough to hold the lamp, a diffuser, a reflector, the backdrop, and the product. It doesn’t even have to be a table.
Place the work surface against a wall or some other vertical item.
For our setup, we’ve still spent $0.00 so far.
Set up an Infinity Backdrop Against a Vertical Surface
After settling on a work surface, you’ll need to set up the backdrop.
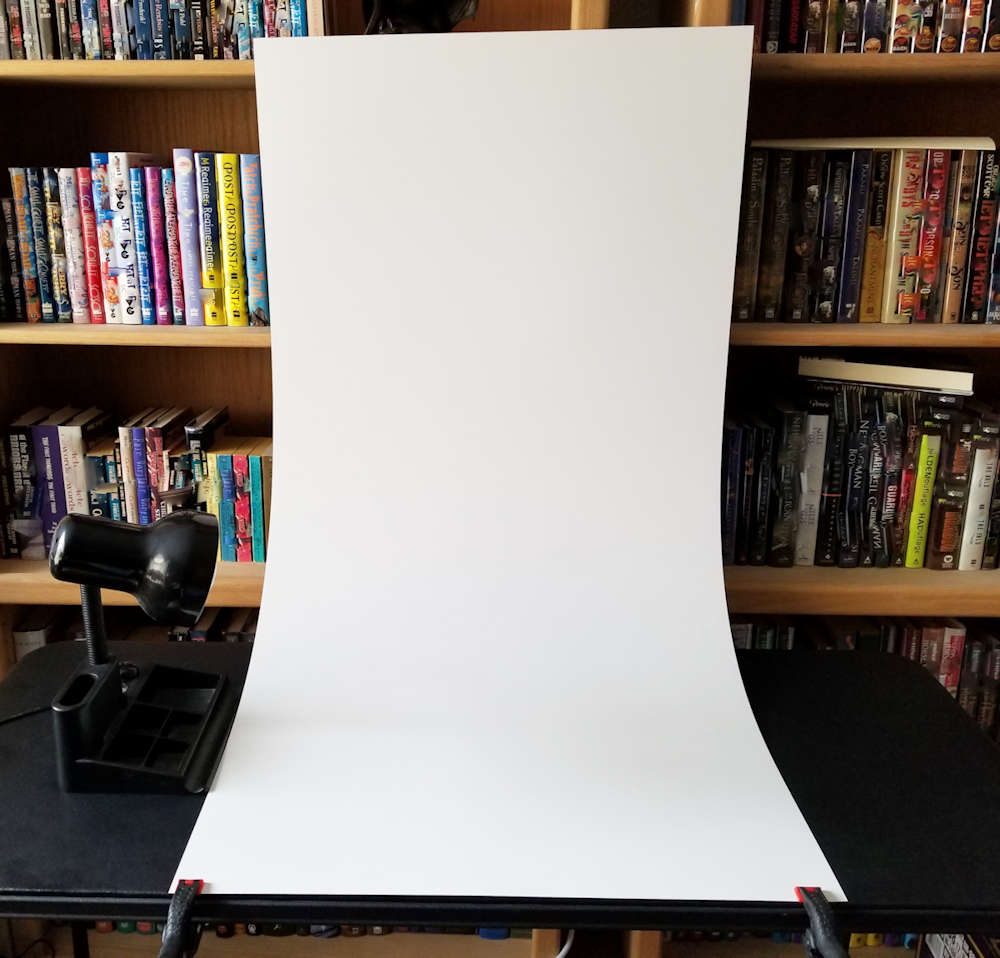
Product photography uses something called an infinity backdrop/endless backdrop/sweep. This is something that creates a curved background between the wall and your work surface. It is that sheet of curved white plastic in this photo:
An infinity backdrop is standard practice in product photography. It takes out that line between your work surface and the background wall, which can distract your customer’s attention. You want a smooth background so the viewer will focus their attention on your product.
Where to Find Materials for the Infinity Backdrop
You can use a lot of different materials to create an infinity backdrop. Some people use cloth, a large roll of paper, or even a poster board. We think the best option is to use a semi-flexible sheet of plastic similar to the photo above.
To get something of that size, you can buy a vinyl sheet from a home improvement store like Home Depot or Lowe’s. It’s one of those vinyl sheets for covering kitchen countertops.
Get the white one because standard product photography uses a white background. (You can experiment with other colors later, of course.) Ours cost about $15.00.
To create the infinity backdrop, secure one end of the vinyl sheet to your table like the photo above. We had the clamps for other projects, so we used what we have.
You can buy inexpensive clamps from home improvement stores or at Walmart. You can probably even secure the vinyl sheet with duct tape, if that’s what you have at hand.
As an aside, you can use a light box/light tent as an alternative to the sweep. You can buy them commercially or make one yourself, but because it is a box, you can only place small items in that box. It is also not always very portable. This is why we recommend a larger setup for the DIY photo studio using a sweep.
Use a Diffuser and a Reflector to Soften the Lighting
Next, you’ll need a diffuser and a reflector. The diffuser goes in front of your light source and the reflector goes on the opposite side of the light source. Place your product in between the two items.
Both tools are used to soften the shadows on the product for better picture quality. Here’s a good article with before and after photos that explains why you’ll want to use both.
If you are using a two- or three-light setup, you will need a diffuser in front of each light. You won’t need a reflector.
You can buy commercial diffusers and reflectors, but you can also make your own. Ours cost a little over $2.00 to make.
Your DIY Photo Studio: The End Product
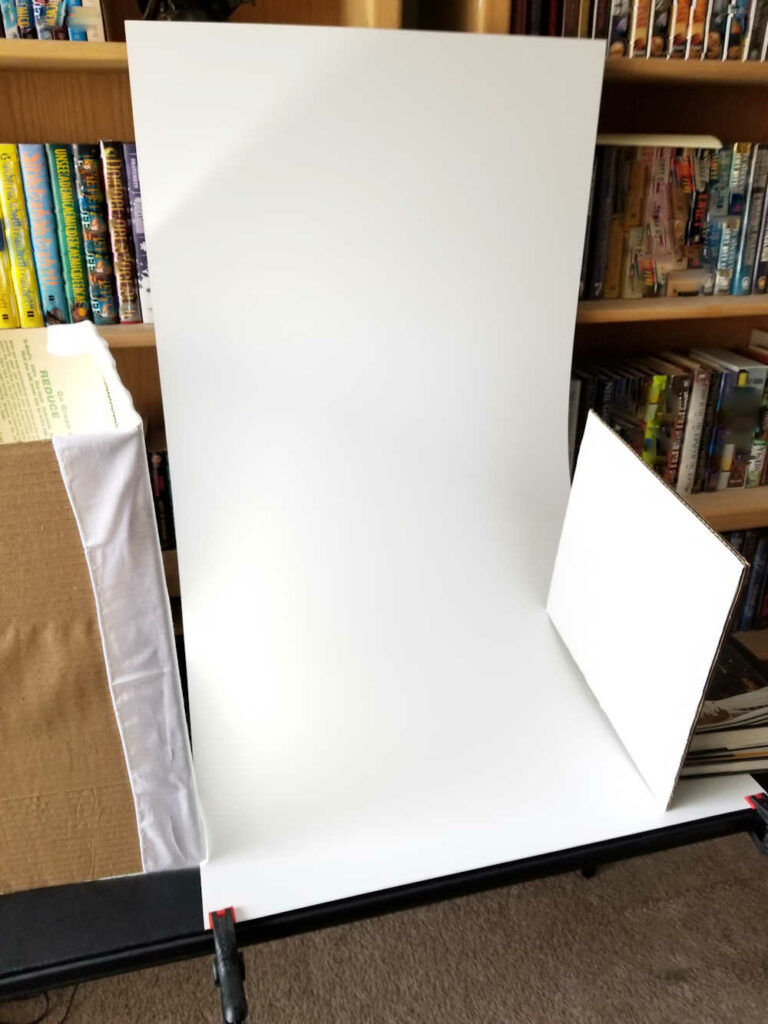
So that is basically all you need for your DIY photo studio: a lamp, a table, a sheet of vinyl for the backdrop, a diffuser, and a reflector. Our studio looks like this.
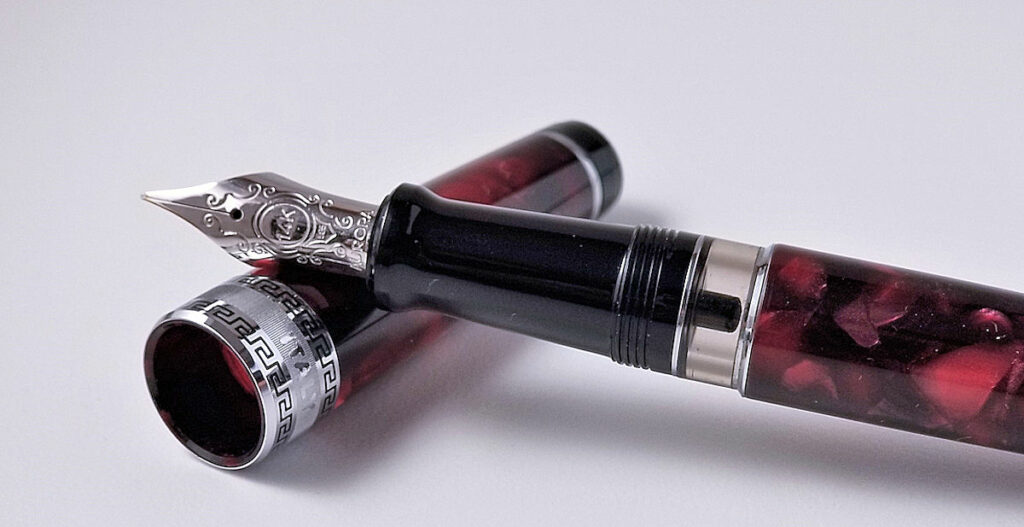
As to the photo quality, after minor editing with photo editing software (which we will discuss in a future article), we can get a product to look like this:
We’re sure a professional photographer can do better. But their services cost more. We think you can probably use your limited startup money in other places as you build your business.
After you’ve filled your product line and gained sales, you’ll have the budget to hire a professional photographer and re-do all your product photos. Meanwhile, though, we think a small number of product photos taken in a DIY studio that costs about $20 will do just fine.
Questions? Comments?